To set up a Routed connection on the ZyXEL VMG1312 you will need to access the router interface through a web browser.
To do this make sure you're on a device that is connected to the router, open a web browser, and then type the IP address of the router (192.168.1.1 by default) into the address bar then press enter. You will then be asked to log into the router.
By default the username is admin and the password is 1234, but the password should have been changed if you've previously set up the router and haven't reverted to factory settings.
If this is the first time logging into the router or a factory reset has been done it will ask you to change the password and log back in. After logging back in click "Close" on the "Quick Start Wizard", you can also un-tick the box at the bottom left to prevent this from appearing every time you log into the router settings.
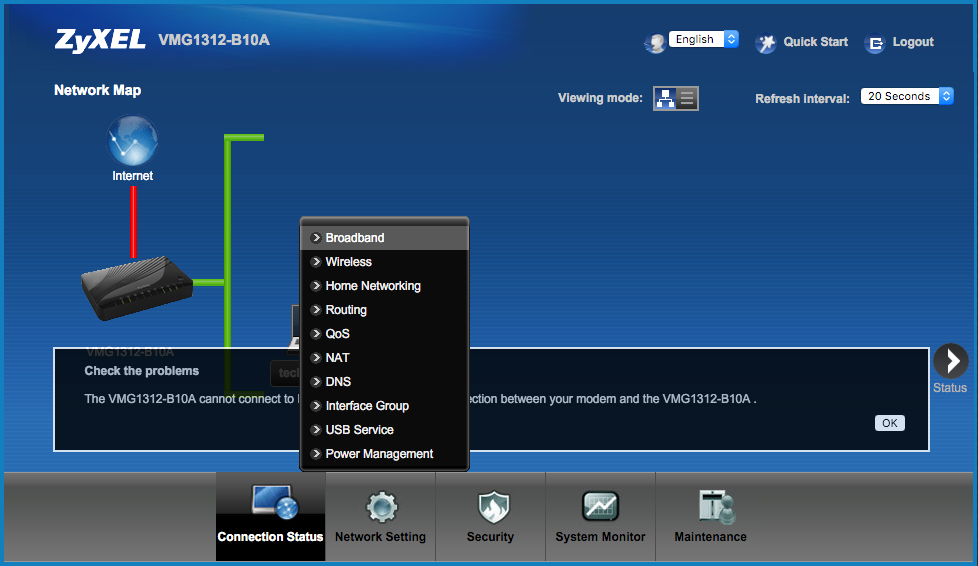
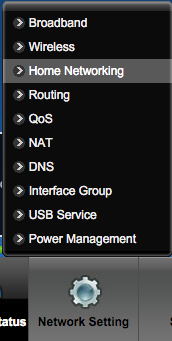
Once logged into the router hover over the "Network Setting" option on the bottom menu and select the "Broadband" option from the popup menu.
Once on the broadband screen click the "Add New WAN Interface" button.
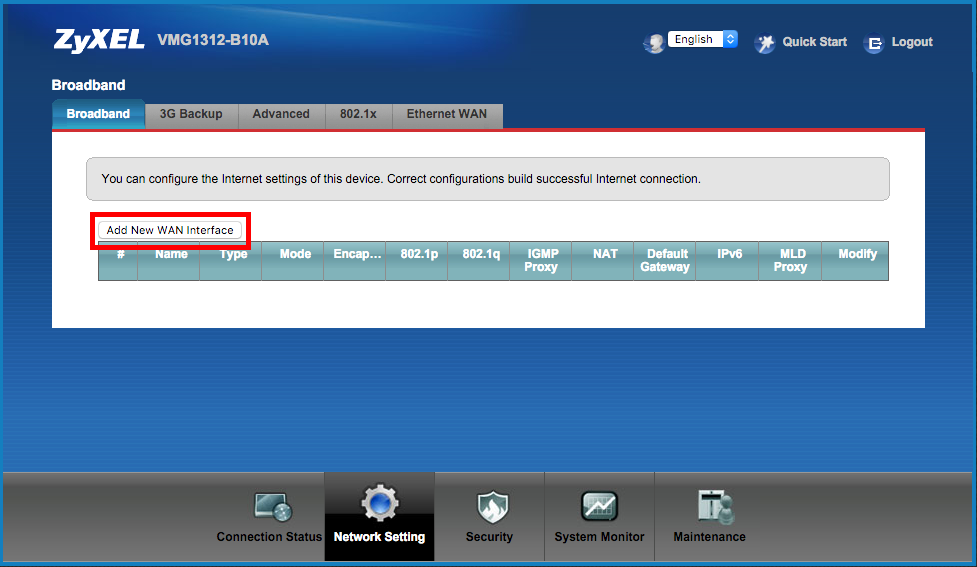
You will then see the page where you need to enter the connection information.
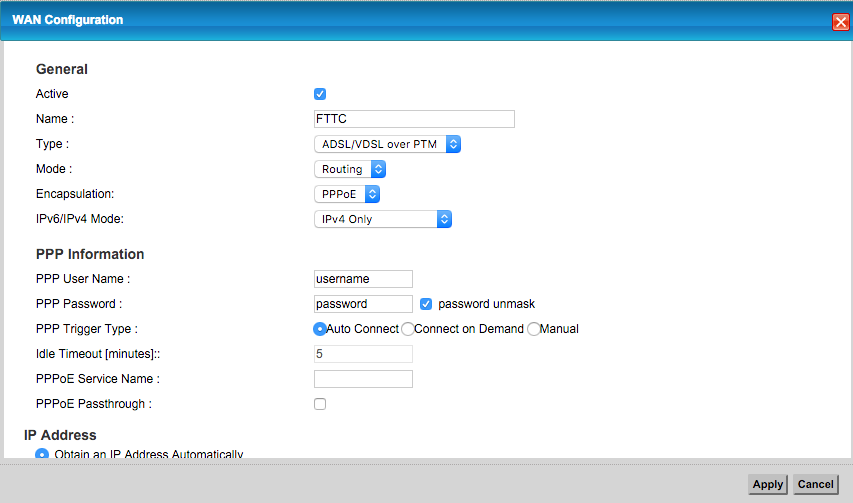
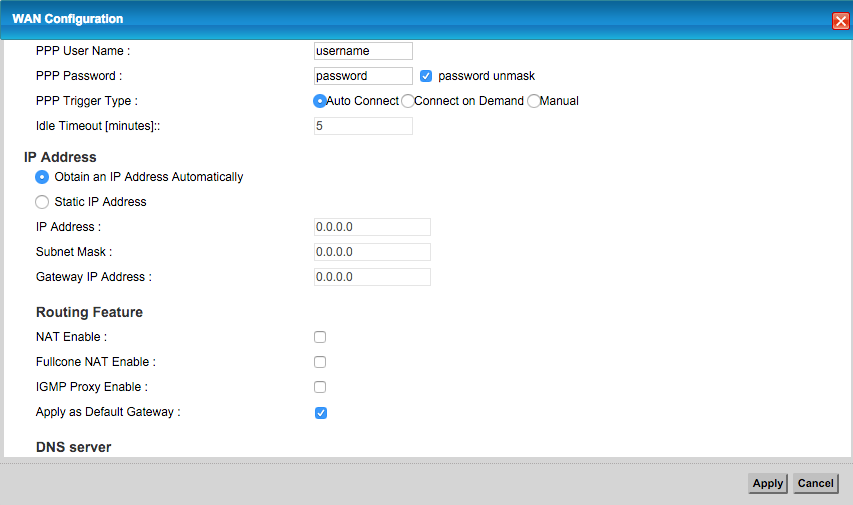
Tick the "Active" box, give the connection a name and then select "ADSL/VDSL over PTM" from the "Type" dropdown box. Change the "Encapsulation" to "PPPoE" from the dropdown box and then enter your username and password. You should have received your username and password in the welcome email.
Once the changes have been made the page should look like the following:
After you have done this scroll down until you see the "Routing Feature" heading, then tick the box "Apply as Default Gateway".
Lastly scroll down to the very bottom and you will see the "VLAN" heading, tick active and set the 802.1q value as 101. You also will see the "MTU" heading. Make sure the "MTU Size" is set to either 1432 or 1492, as per the welcome email and then click Apply

Once you have done this hover over "Network Setting" and click "Home Networking".
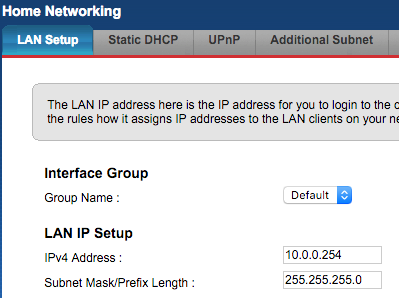
You should now be on the "LAN Setup" tab of the "Home Networking" page. On this page you will need to put the last usable IP address within the range into the "iPv4 Address" box (this is normally the second to last one, as the last one is reserved) and the subnet mask for your range into the "Subnet Mask/Prefix Length" box. If you're unsure of the subnet mask then please see
this article.
The iPv4 Address can be anything that isn't reserved, like 127.0.0.1, as this is for your private network. In this example we have used the IP range 10.0.0.0 - 10.0.0.255. You could use, for example, the range 2.2.2.1 - 2.2.2.8 and the subnet mask would be 255.255.255.248.
Further down the page you will be able to disable DHCP. This isn't required, however if you do decide to disable DHCP then you will need to set the IP address manually for your devices.

If you device to disable DHCP the information you will need to input into the device is as follows:
- IP - Any spare IP address within the range that you specified, be careful not to overlap with other devices as only one device can use an IP address at a time.
- Subnet Mask - The subnet mask for the range you've opted for. This should be the same to the one entered into the router settings.
- Gateway - The routers IP address. This should be the same as what was entered in the "iPv4 Address" box above.
Finally scroll down to the bottom and click "Apply".
