There was a problem loading the comments.

PPPoE - macOS

Support Portal  »  Knowledge Base  »  Viewing Article

  Print
In this article we will show you how to configure a PPPoE connection using a Mac.

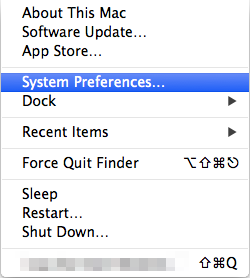
1. To begin, click on the Apple icon in the top left corner. Then select System Preferences.

71069dd6371f4603a9a54c08b1aea1181782b2761ece9a5986647d96976b2f73592b302a3bb13b70?t=1eeb1ade48501693b80a7f067f7fd765

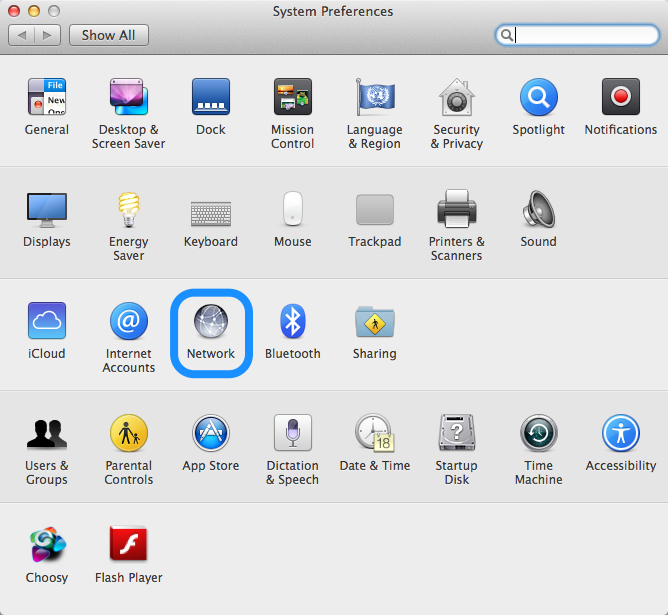
2. Click on Network.

b266dff9d6bdd664b5bc0667b2a7fb14008e620003d183287b39b871ea338152800ad56082228221?t=839e600c1862e882a1413817b4a796d9

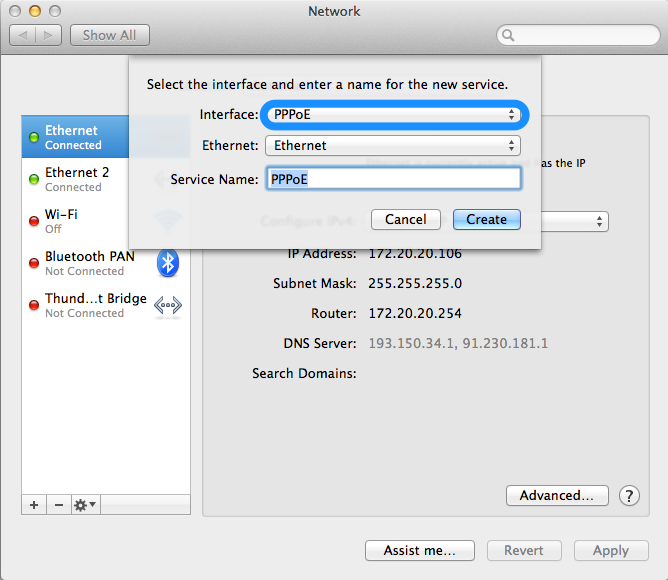
3. At the bottom on the menu on the left-hand side click on the Plus symbol.

b617bffb47bd31d8af3d06570dfacac4454281ae9bfe5c683617f5dcd0b729b33c618c45f0696b8b?t=c13273b4de9eda29f18755c118cbfd18


4. Choose PPPoE as the connection type.

8bad7e4074f85fa95a93c69c0e7b7d945dbeb572e3f8780d2000583bf2b5cc3348abb79f7aa92dd6?t=28a4e9d8c79461bc58dd35be9a912114


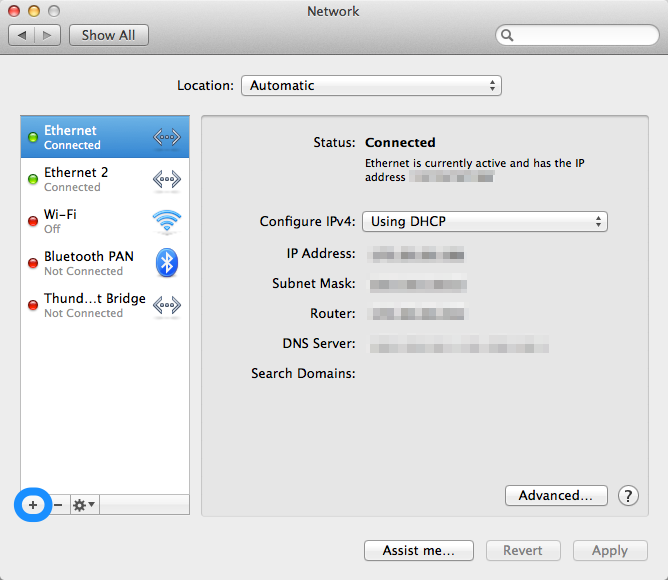
5. The connection has now been created, before you can use it however you need to enter some details. On the left hand side select the PPPoE connection from the list. Then in the middle of the screen you'll be asked to enter the Service Name, Account Name and Password. Once entered correctly, click on Apply, followed by Connect.

da3dd32c85a82bbbfc2b8a327937ed3e95acd9b61b9560e81955ab987df88cbc4b9584a860877128?t=64709bced63d0fffa3d9a901820e04b2

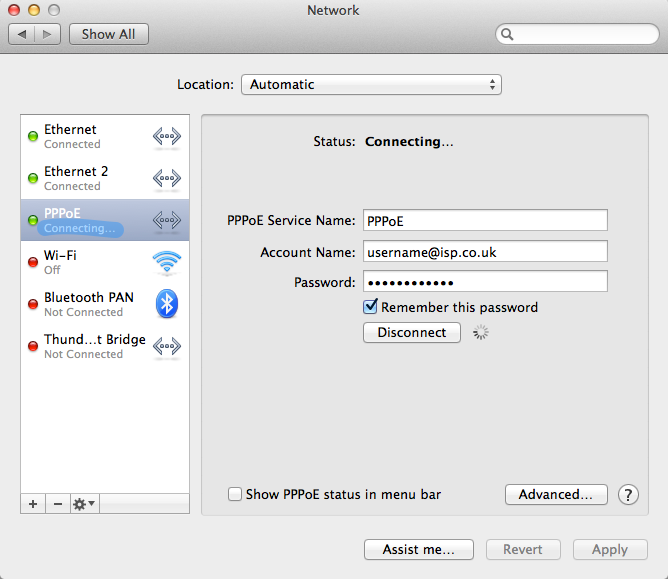
6. The new PPPoE Connection will now try to connect. This will take a few seconds but once done you will be able to use this connection.

7015f4c09ca60c50db364beb3262ab80ee59a8de03607fb3ae0d20fa63e0403187339808c1f55ff3?t=8e2bc42b374a359bbef6ef0efedb5fe0

Share via
Did you find this article useful?  

Related Articles


Comments

Add Comment

Replying to  

© uno Communications