There was a problem loading the comments.

PPPoE - Windows

Support Portal  »  Knowledge Base  »  Viewing Article

  Print
In this article you will learn how to setup a PPPoE connection using Windows. The screen shots are from Windows 8 but Windows 10 has similar/identical menus.

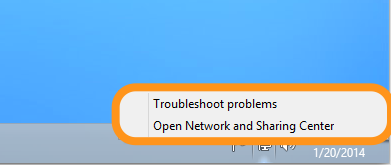
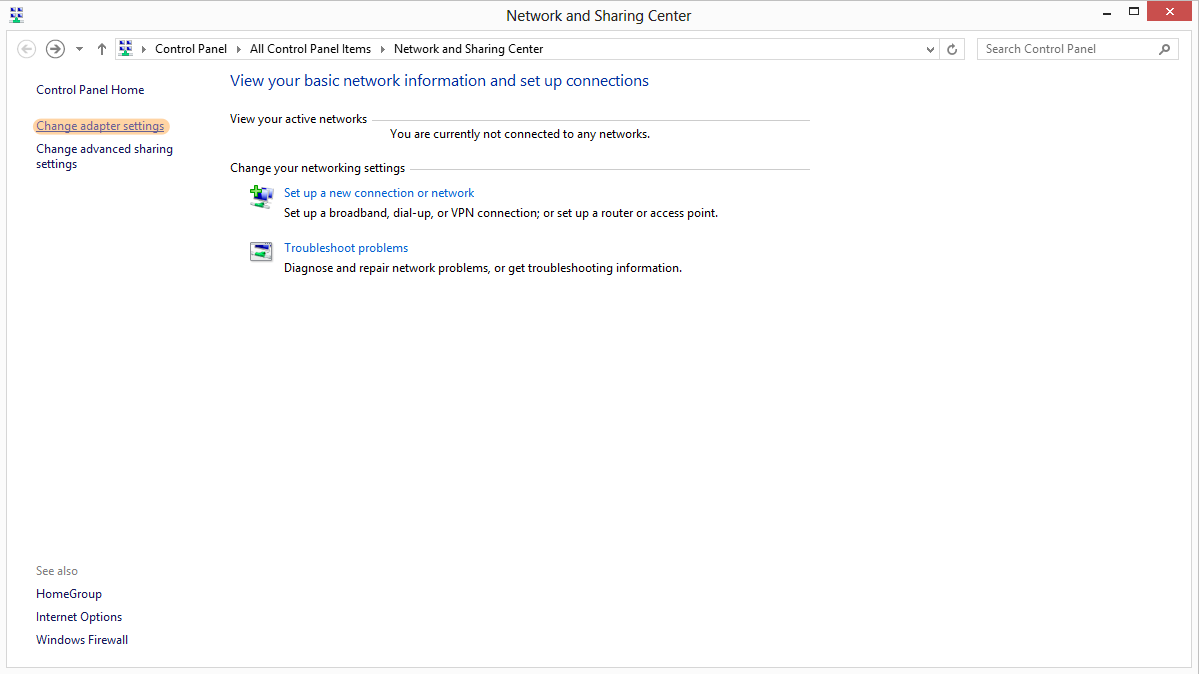
1. Firstly, open the Network and Sharing centre, by right-clicking the network icon in the task bar and clicking Open Network and Sharing Center.

2580fba525faa681fee1ac8376a11376410271e92a86d166278265a6a64a96df0a6e87f36e25d47a?t=191b56f3abf42a9d3d059c4ede24f512

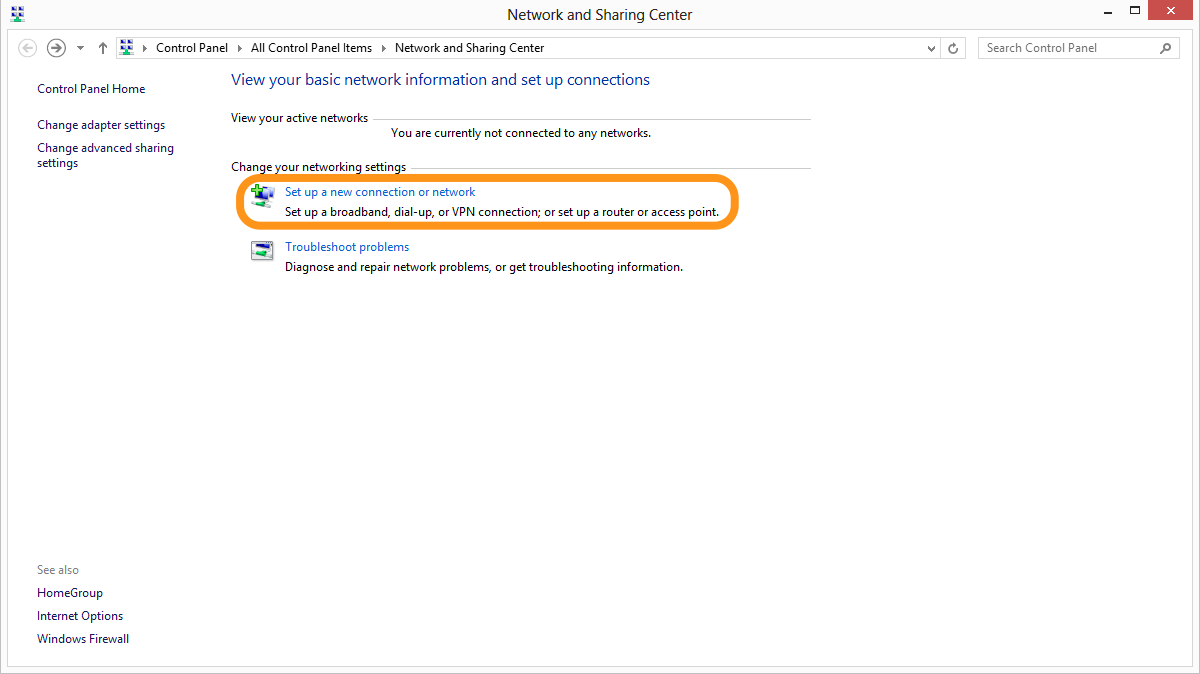
2. Now, click on Setup a new connection or network.

f460ee409c17430ba486d1ee389ccf31be835ee5e1dfaf7227ab40841f191bf34eee0d2a1b3afdef?t=f10b46689d116693a9c1f90001944e15

3. Followed by, connect to the internet.

ea43c7efac0da02c24f41c6f1fa88f1df68e4ad74c3c48842650f6d428e9170afe9aaf562a3a06a8?t=e3c97309d618be0b921d50aba8db68ee

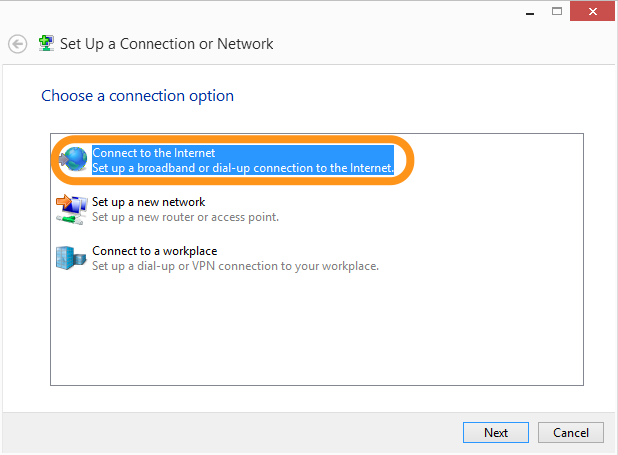
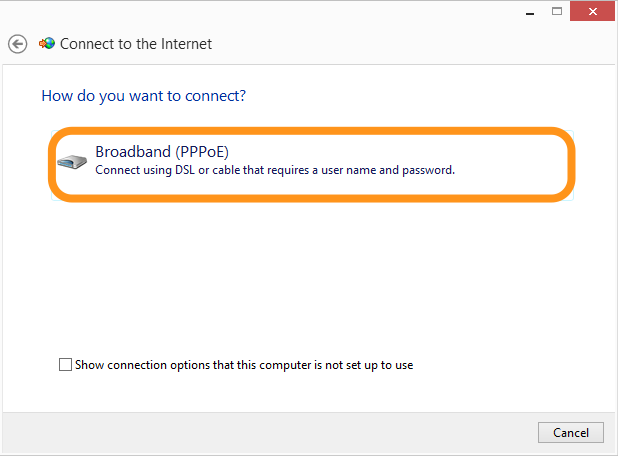
4. Choose a broadband (PPPoE) connection.

4c6eaacc5968d377ad80c7ee3c70f8a6416f948e329e969fab068151ab0bc9976e4566e8cb2c50a0?t=36788d3adf2697cc65a1140065a1c170

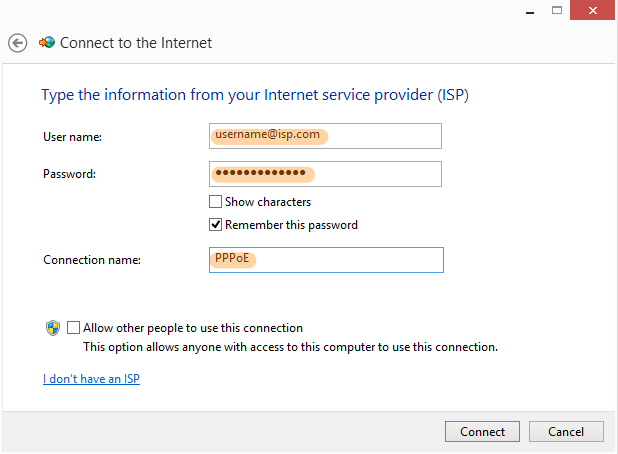
5. Enter your broadband username and password, then choose a connection name.

cac6476df740b2ca7c4aba402147cf0cdd65e3a02ad24aed6b0273f568909a52dedc3cae6493742c?t=f3d6417d3e1cfcd69d08e06121f46b7f

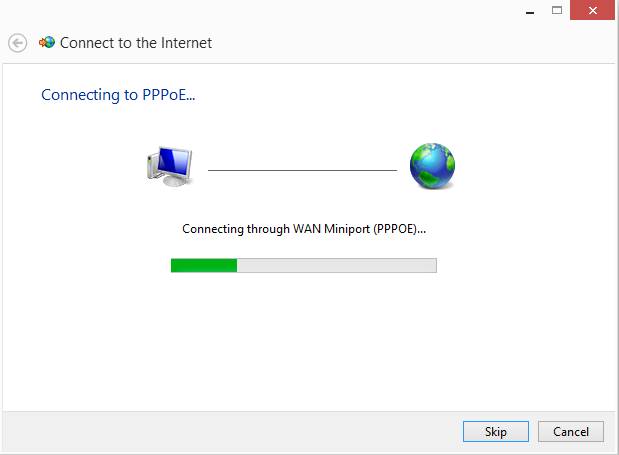
6. The wizard will begin to configure the connection.

663cc1a2cdaf69260a6a85575e1922aa73bc282207fc48c024686276b25979c0f9e050af9dceee16?t=09475ae2b94ce7d2a290b9ddaa84234b

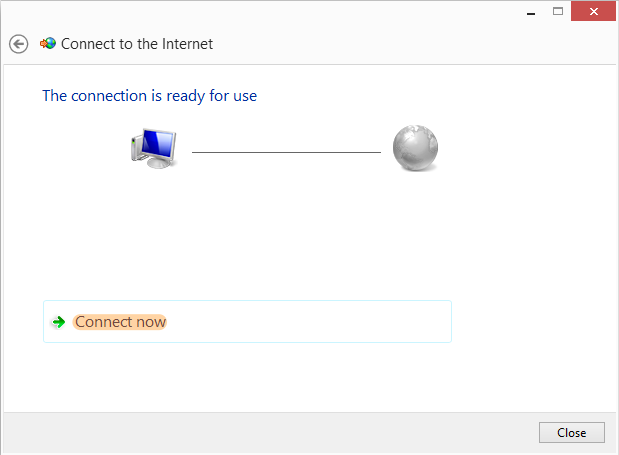
7. The connection will now be ready to use, click on Connect Now.

f77abacea46d7b83cf2c0ce943da9af9eb88bb93f296e5fe11bb952368c893dd2911d9076387f776?t=3a04a29b7eb85173d70f6b1a03b9ea9e

8. If you would like to connect at a later date, navigate back to the Network and Sharing centre and click on Change adapter settings.

c5fe578715bca1aefa8862842a116bbeabfcea0632ea5d52c749f29d7a632ee0e919ac157560c2ae?t=3581f04434f49ff0f46ca88990cf9eb5

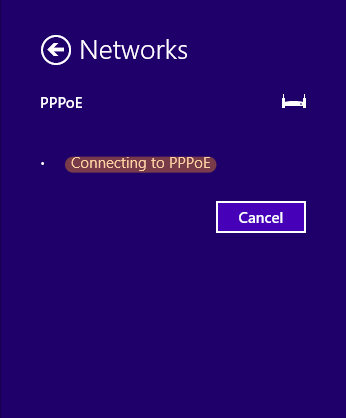
9. Now, open up the PPPoE connection.

2be3763bb6ca91c1d005d8ac64de78cb43d053dd53d8046d3f08ab8118eb5933a553740409e6c360?t=cabd3b56c0e31bcfd6f4ad961d2d0d19

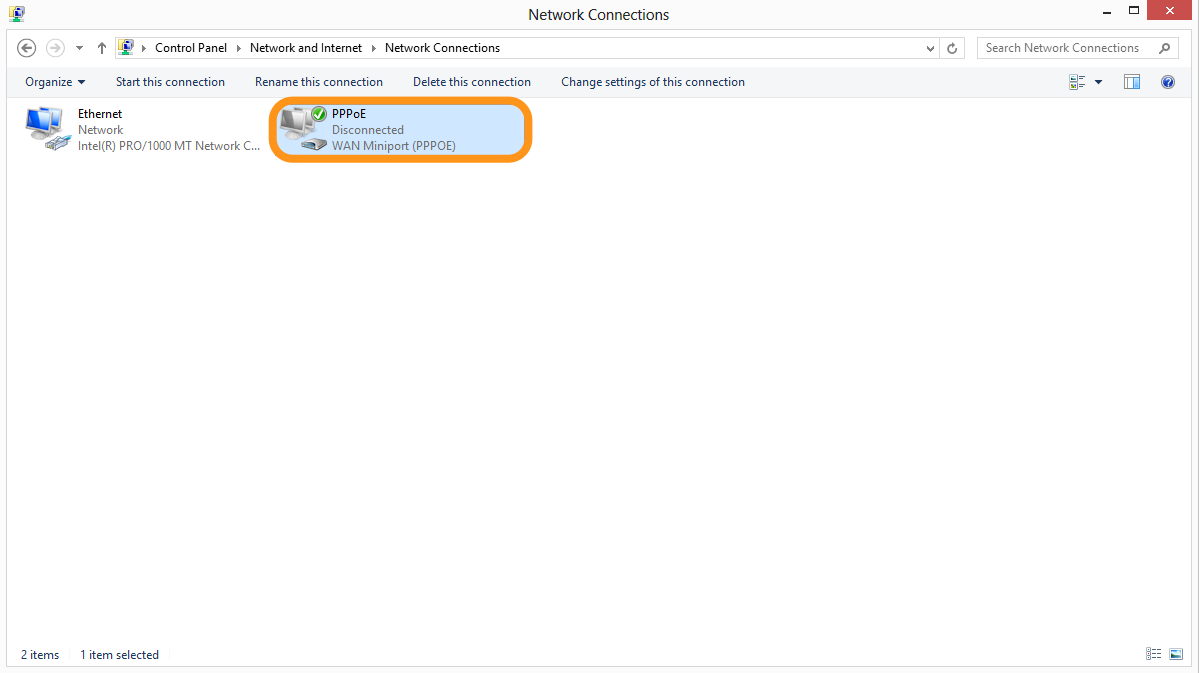
10. You may need to re-enter your connection details and then click connect.

6c905f22e433fbbc600731da43678ff30bb2c633799ded47d19481bd7ba83beca7686d64a320095d?t=e3a215e206e6dc830a1014e433819c10

Share via
Did you find this article useful?  

Related Articles


Comments

Add Comment

Replying to  

© uno Communications